Mini Pumpkin Pots
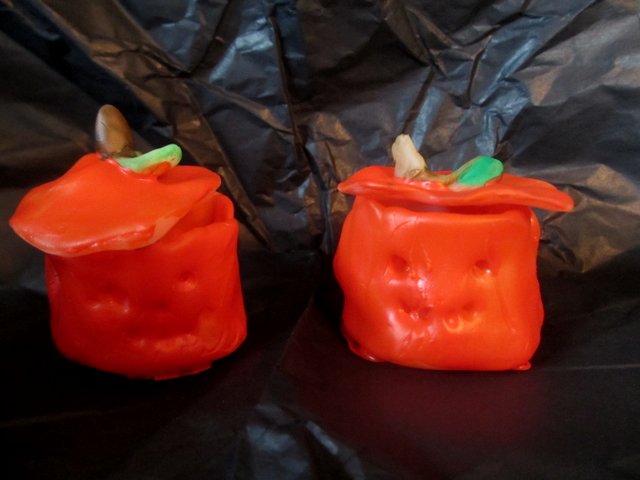
These cute pumpkins will last longer than your average carved Halloween treat and are great fun to make. If you measure them properly you could easily make them large enough to hold a tealight (but that didn’t occur to me until too late!)
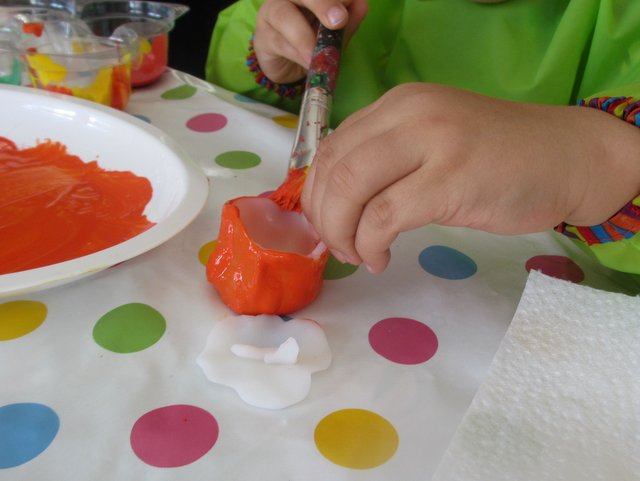
I used white Fimo modelling clay to make the pumpkins however, if I was to repeat the exercise, I would use normal air-dry clay or make salt dough. The Fimo took a lot of work to get to a malleable state and my four-year-old found it very difficult to use (although the packaging does say from age 8). I also had to apply three coats of paint to achieve a bright orange look of a pumpkin, as the paint did not stick well to the Fimo (although you can buy it in different colours so perhaps I should have just used the orange to start with).
Materials:
- modelling clay which dries hard (either air dry or in the oven)
- orange, green and brown paint
- PVA glue (aka polyvinyl acetate or regular all-purpose white glue)
- modelling tool or knife (we ended up using the holder for a birthday candle)
Instructions:
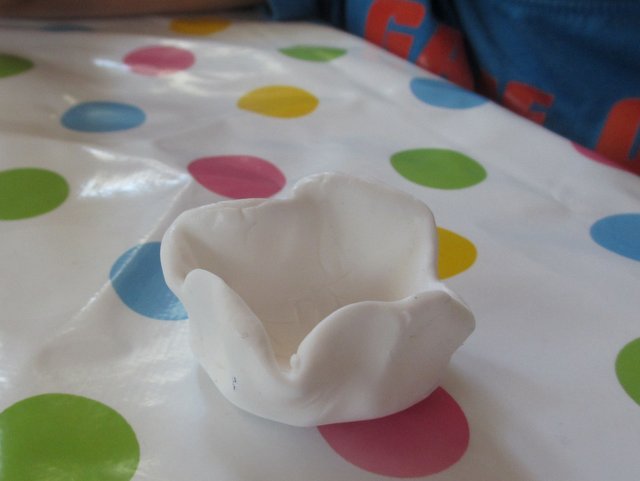
1. Mould ¾ of the clay into a pot shape. Start with a ball and push your thumb down into the centre. Use your fingers to push the sides up and the base out until you reach the size you want. Make sure your sides are not too thin or they may tear.
2. Use the rest of the clay to make a lid. Make a flat circle to match the pot size and then pull up a small piece to form a stalk and leaf.
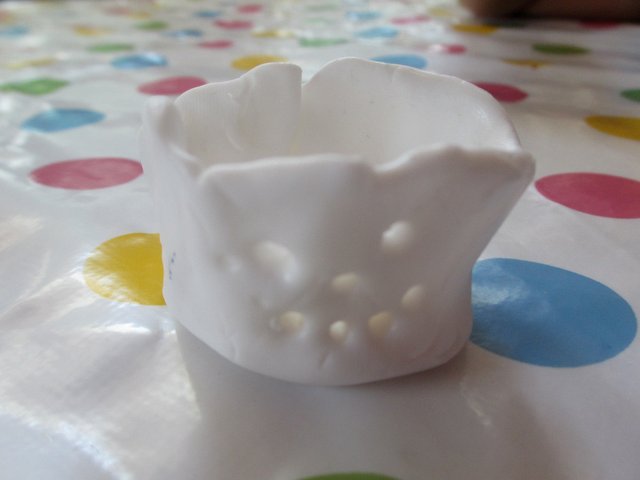
3. With your modelling tool mark lines down the side of your pot (like a pumpkin) and then push the tool through the clay to form the pumpkin’s eyes and mouth.
4. Leave your pumpkin to dry out or bake in the oven (depending on the type of clay used).
5. Mix the PVA glue with the paint (this will help it to stick better) and paint your pumpkin. You may need several coats to achieve the desired effect.
Text and pictures by Karen Clayton
Karen is originally from Scotland and now lives in Zurich with her husband and two sons. She is a qualified primary school teacher and now runs her own tutoring business, Smart Owls, offering English tuition for children and workshops for different age groups. More information can be found at smartowls.wordpress.com.

