Apple Pot Pies
I love pie. I love apple pie. I even love making apple pie. But to make it just how I like it, it takes a long time. Over the years, I’ve painstakingly fine-tuned my own version into a long, complicated process that only I can appreciate. No one else cares. Everyone else just wants dessert, preferably with whipped cream on top.
That’s why I love these apple pot pies, which are quicker and much less fussy than traditional apple pie. But they still satisfy that apple pie urge I get as the weather turns colder. By baking them in individual ramekins, they can be even prettier than a full pie because you don’t have to worry about even slices and juices running everywhere. If you are serving a crowd and want even less fuss, you can simply load up the apples in a baking dish and cover them with the pie dough. Then after baking, scoop out like cobbler and smother with cream. You can even freeze unbaked portions and pull out just one to bake for a special single-serving treat.
Overview: You will first make some pie dough, then cut and mix the apples with sugar and spice. Then bake, flip and eat.
Preparation
1. Preheat your oven to 425 F (220C).
2. Find 8 ramekins or small baking dish, like a 9×9 glass baking dish or oval casserole pan. You don’t have to grease them. Aren’t you happy about that? You will want to put either one on a baking pan lined with foil or silicone baking mat because it might bubble over and get sticky apple goo all over your oven.
Pie Dough
Like most pie dough, you must “cut” in the cold butter to the flour. If you don’t know how to do that, I recommend this tutorial as a primer. It’s important that you use cold butter, so leave it in the fridge until you are ready to begin.
1. In a medium bowl, mix together:
- 6.25 oz (175 gr) all purpose white flour
- 2 TB sugar
- 1/4 tsp salt
2. Take your super cold butter out of the fridge. Cut 4 oz (115 gr) of cold butter into small pieces and drop it into the flour mixture. Use knives or forks or pastry cutter to cut the butter into the flour so it resembles little peas. You don’t want the butter completely incorporated, just broken into little bits covered with flour.
If you have a good food processor (the one with a blade, not a mixer with a paddle), you can use that to cut the butter into the flour using 10-15 one second pulses. Then dump the flour into another bowl and continue with the next step.
3. In a small bowl, combine:
- 1/2 cup (120 ml) very cold water
- 2 TB sour cream
- 2 tsp lemon juice
4. Pour the liquid over the flour mixture. Using a fork, lightly stir it in until the dough starts to clump together. Dump it all out on the counter and knead it a couple times just to get it all into a big lump. Don’t knead it a lot like bread dough or your dough will be tough. Mush the big lump of dough into a rough 4 inch square. Wrap in plastic wrap and put it in the fridge while you prep the apples.4. Peel, core and slice about 8 medium apples (about 2 lbs or 1 kg), use a mix of sour and sweet apples that you like. It’s better to use crunchy apples (kräftig) than mushy apples. It’s best to slice them about ¼ inch thick. If you are using ramekins, then you’ll need to cut the slices in half or smaller so they’ll fit.
Apple Filling
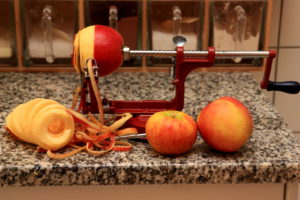
If you have an apple slicer machine, use it! It makes apple pie making fun and fast. My kids love using it. To fit the spirals into your ramekins, just cut the sliced apple into fourths. What? You don’t have this machine? Coop was selling it in September for about CHF20.
1. Mix the apples with:
- 2 tsp lemon juice
2. In a small bowl, combine:
- 1/2 to 3/4 cup (100 to 150 gr) sugar, depending on how sweet you like it
- 1/2 tsp cinnamon
- 1/4 tsp nutmeg
- 1/4 tsp salt
- 1 TB cornstarch (optional, only if you want thicker juices)
3. Mix the cut apples into the magical sugar mixture. Let your kids eat a few. Then spoon into the ramekins or baking dish. The apples will shrink down during baking, so don’t worry about packing the apples right to the top of the baking dish.
4. Take pie dough out of the fridge and place on a lightly floured surface ready to roll.
Assemble
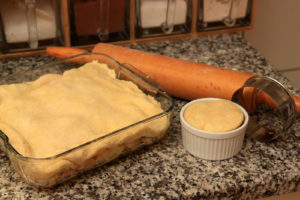
If you using ramekins, roll out the dough about ¼ inch thick. Then use a circle cutter or an appropriately sized cup and knife to cut circles that match the size of your ramekin. Put one piece of dough on top of each ramekin.
If you are using one baking dish, roll the dough out to approximately the size and shape of the baking dish. Lay the dough over the baking dish and tuck in the sides.
1. Lightly wash each top with water and shake some sugar all over the dough.
Note: If you want to freeze some for later, now is your chance. Simply wrap each ramekin that you want to freeze in plastic wrap and put in the freezer. It should be good for about a month or so. When you are ready to bake, simply remove the plastic wrap and place directly in the oven. Do not defrost. You might need to bake slightly longer than stated below.
2. Bake for 20 mins at 425F (220C), which sets the crust. Then reduce heat to 375F (190C) and bake another 20-30 mins, which makes sure the apples are nice and tender. The pie dough should be golden brown and apple filling should be bubbling
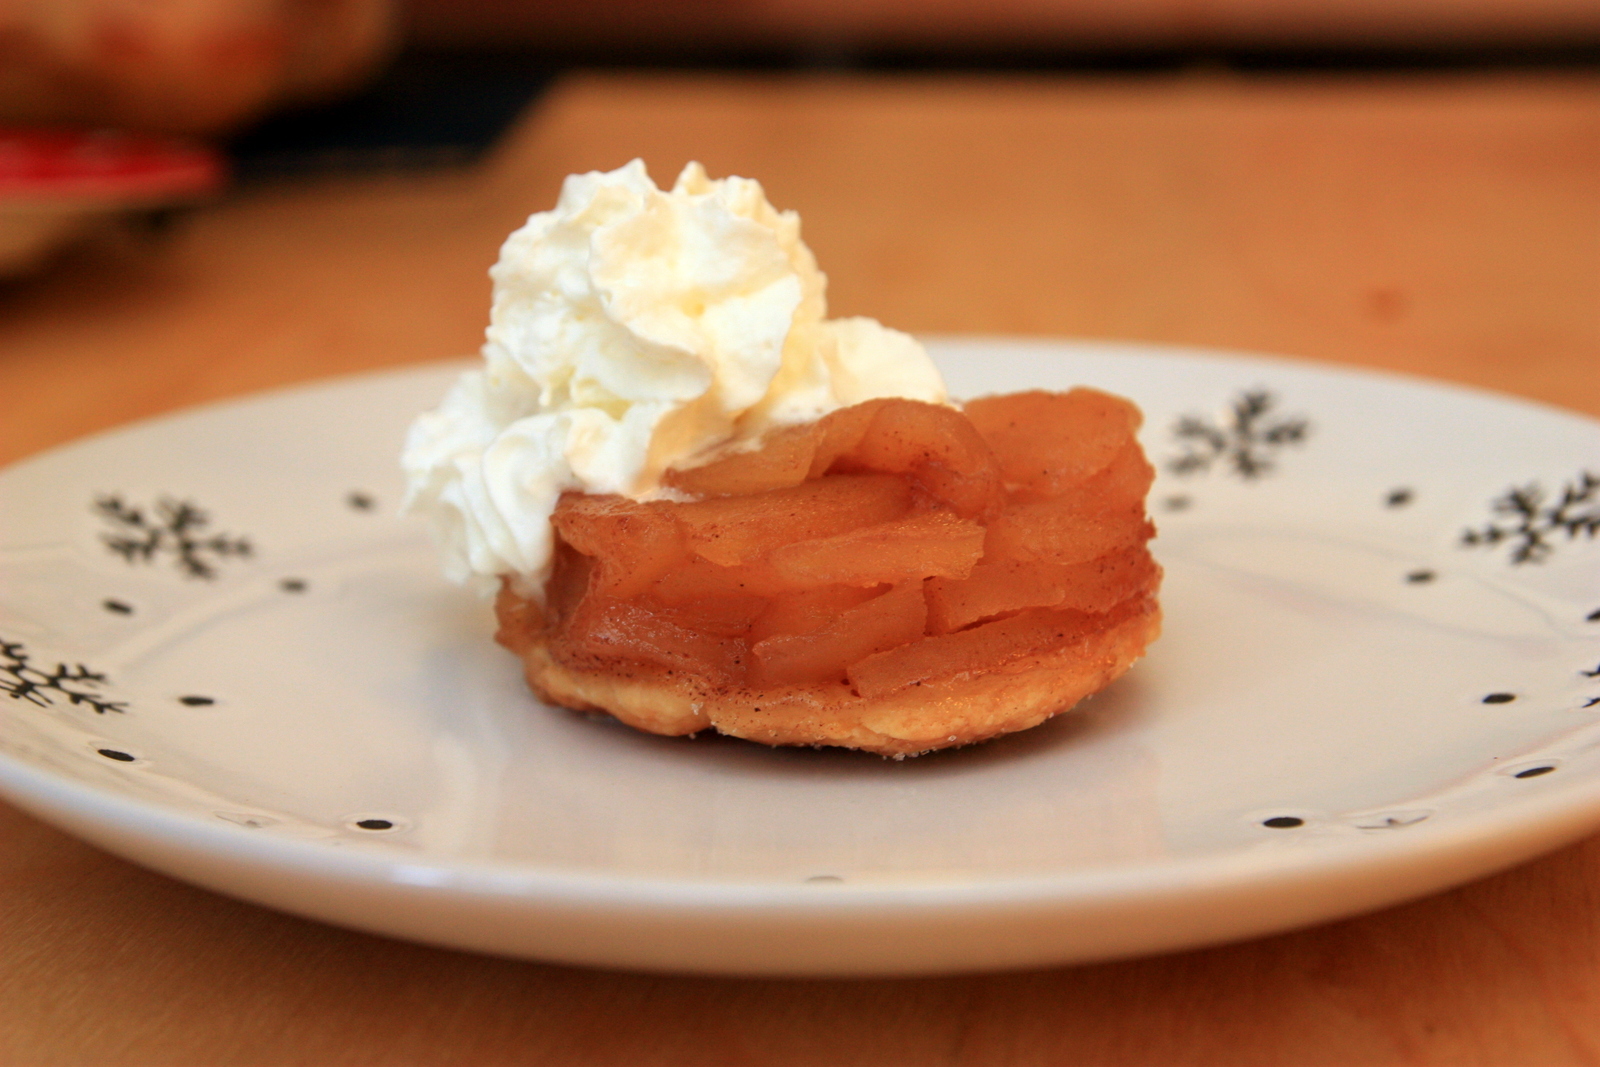
3. Take the pies out of the oven and let cool at least 10 minutes on a rack. The filling will be very hot, but my family usually can’t wait any longer to eat. If you used ramekins, you can flip the pie out upside down on a plate and top with cream. If you used a baking dish, just scoop out a portion and top with cream.
Note: Of course, you can use this method with your own favorite filling and/or crust. I’ve made this dish with a biscuit topping instead, like cobbler. It was also delicious, but I think pie dough pairs better with apple filling.
By Tanya Deans
Tanya is a California girl at heart but learned to be a mom in Switzerland, for which she will always be grateful. If you’d like to read more of Tanya’s work, check out her blogs expatchow.blogspot.com and momstotszurich.blogspot.com.


I liked reading the insider tips that make the difference in the crust, the apple consistency, etc. Thanks, Tanya!
I liked reading the insider tips that make the difference in the crust, the apple consistency, etc. Thanks, Tanya!